
Three tile samples, one evening: a side-by-side test before you order
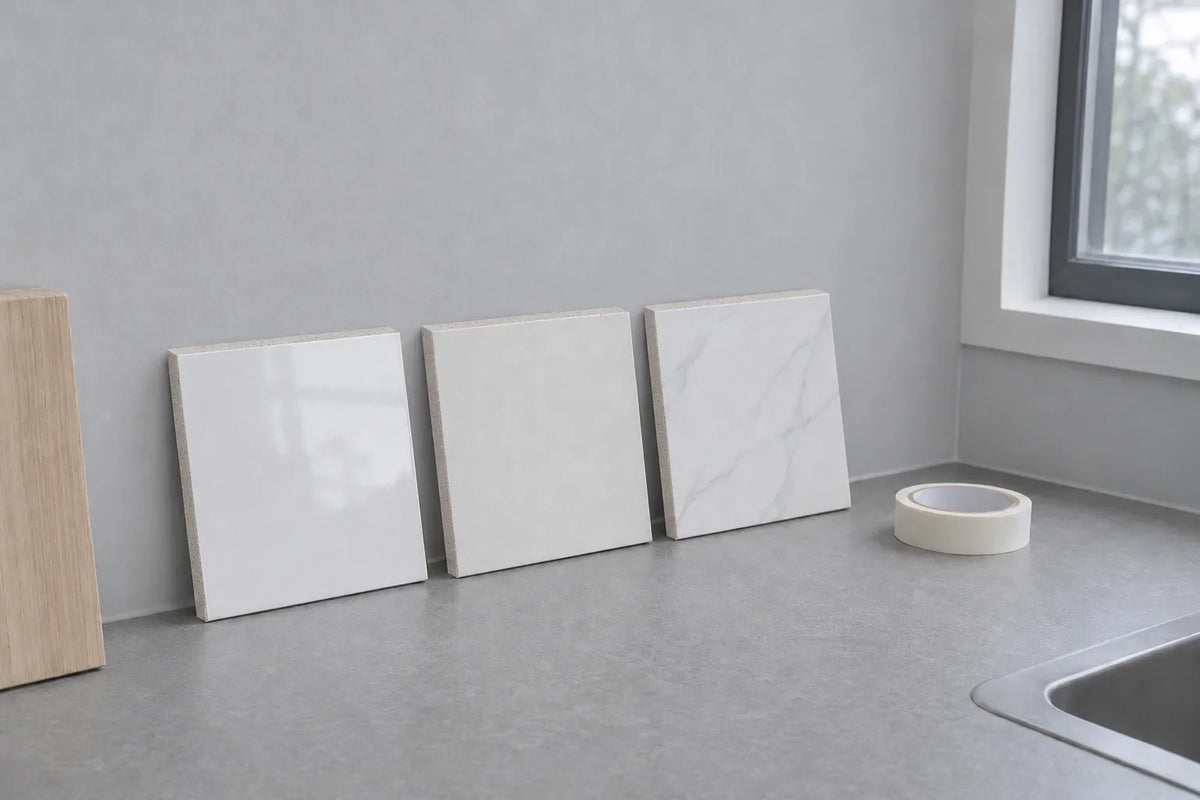
Short answer: stand each sample where the tile will actually go, look at all of them together in morning light, late-afternoon light and under the room's own lamps, wipe each one with a damp cloth, lay them against your grout colours, cabinet, benchtop and floor, and write down what you saw before you order. Two or three candidates are easier to judge side by side than five. This guide is that routine, step by step. For what a single sample can and cannot tell you, read Tile samples at home: how to compare colour, light and pairing.
What to have on the table
- The sample pieces, each with a strip of masking tape on the back: A, B or C and the product name.
- Whatever is staying in the room: a cabinet door or offcut, a benchtop sample, a floor board or floor tile, a paint swatch.
- A damp cloth.
- Two or three grout colour cards, or strips of paper in the grout colours you are weighing up.
- A pencil and the sheet in step 8.
1. Stand each sample where it will live
A wall tile goes upright against the wall, at eye level, near the spot it will cover. A splashback sample sits on the bench, leaning against the wall behind the tap. A floor sample goes flat on the floor; then stand up and look down at it from where you would normally stand. A wall tile lying flat on a table under a ceiling light is lit differently from the same tile standing upright and lit from the side, so judge it the way it will be seen.
2. Look in three lights, on the same day
Look once in morning daylight, once in late afternoon, and once after dark with the room's own lights on. Look at all the samples together each time: side by side, a small difference is easy to see, while a shade remembered from yesterday is not. Note which one you still like under the lamps, because a kitchen or bathroom is often used after dark. Do not use the phone torch or flash; it is not a light the room will ever have.
3. Put them next to what is staying
Move each sample against each neighbour in turn: the cabinet door, the benchtop, the floor, the tapware, the paint. Watch for a white that turns colder beside warm timber, or a grey that picks up a green or blue cast beside a painted wall. The sample that looked best on its own is not always the one that looks best next to the room.
4. Dry, then wet
Wipe half of each sample with a damp cloth and look straight away, then again once it has dried. A shower wall and a freshly mopped floor are often seen wet, so it helps to know whether the face looks darker, glossier or about the same. Some faces change very little; the sample shows you which kind you have. Dry it and stand it back in place. This is a check on appearance only: whether a tile suits a wet area or a floor is set by its product record and your installer, not by this test. What to confirm before choosing lists those rows.

5. Tilt it: gloss, matt and honed
Hold each sample at the angle it will be seen. A splashback is seen from bench height, close up and at a slant; a wall tile from across the room; a floor from standing height. A gloss face returns the window as a reflection at one angle and reads flat at another; matt and honed faces scatter light, so they change less as you move. If two samples are the same colour in different finishes, this is the step that separates them. The twelve ways this range writes a finish lists the finishes recorded here.
6. Try the grout beside the edge
Lay each sample on each grout card so that a finger-width of grout colour shows past the edge, like a joint. A grout close to the tile colour lets the joints recede; a darker grout draws the grid. The colour on a card is not quite the colour of a dried joint, and Grout colours: why a dried sample joint beats the chart explains why; White tiles with grey, white or black grout shows how much of a wall the grout covers.

7. Step back, then take one photo
Prop the samples side by side where the tile will go, step back about three metres and look again; at that distance the finish and veining matter less and the overall colour more. Then take one photo in daylight, without flash. A phone camera adjusts colour on its own, so the photo is not a true colour record, but it is useful for comparing the samples with each other, and later with the boxes when they arrive.
8. Write it down before you order
Tick the sample you would keep in each row. The one with the most ticks is not automatically the answer, but a row where it loses badly is worth a second look.
| Check | A | B | C |
|---|---|---|---|
| Morning daylight | |||
| After dark, room lights on | |||
| Next to the cabinet and benchtop | |||
| Next to the floor | |||
| Wet | |||
| Tilted to the viewing angle | |||
| With the grout colour you prefer | |||
| From three metres |
Then, on the back of the sample you choose, write the product name, the size and finish you are ordering, the grout colour, and any batch or shade code printed on the piece or its bag. Every product page here says production batches can vary, so keep the sample until the job is finished: when the boxes arrive, compare a tile from each box with it, in the same room light, before any go on the wall. Buying tiles online in Australia covers the rest of that check, and Your rights when tiles arrive wrong covers what to do if they do not match.
What this test does not tell you
A sample is a small piece of one face from one batch. It does not show the batch your order will come from, every face a look tile is made in, or how a whole wall reads with its joints; a room preview gives a rough view of that last one. It also does not tell you whether a tile is right for a floor, a shower or outdoors: check the product page and ask your installer.
Where to start
If you do not have a shortlist yet, start with the room: bathroom tiles, kitchen tiles, or white tiles if the choice is between whites. Three pieces are enough for this test.
Search with Google? Add Tilekind as a preferred source and Google is more likely to show our guides in your Top stories.


